How to Create and Pay Your AWS Bills in Naira
By Victoria Braimoh
on January 22, 2025
.png)
Create an AWS account with Nigerian Debit Card
No dollar card? No problem!
Creating an Amazon Web Services (AWS) account as a Nigerian user has become more straightforward, especially with AWS now accepting payments in Nigerian Naira. This development eliminates the need for dollar-denominated cards, allowing you to use local Nigerian credit or debit cards for transactions and accounts creation.
But first: what are AWS Local Zones?
AWS Local Zones are smaller data centers placed closer to end users based on their locations, to achieve low-latency and faster performance. These zones are ideal for workloads that require ultra-fast response times, like online gaming, media streaming, and real-time applications.
This article will guide you through creating an AWS account with your naira card. It’s a simple, easy and seamless process.
Steps:
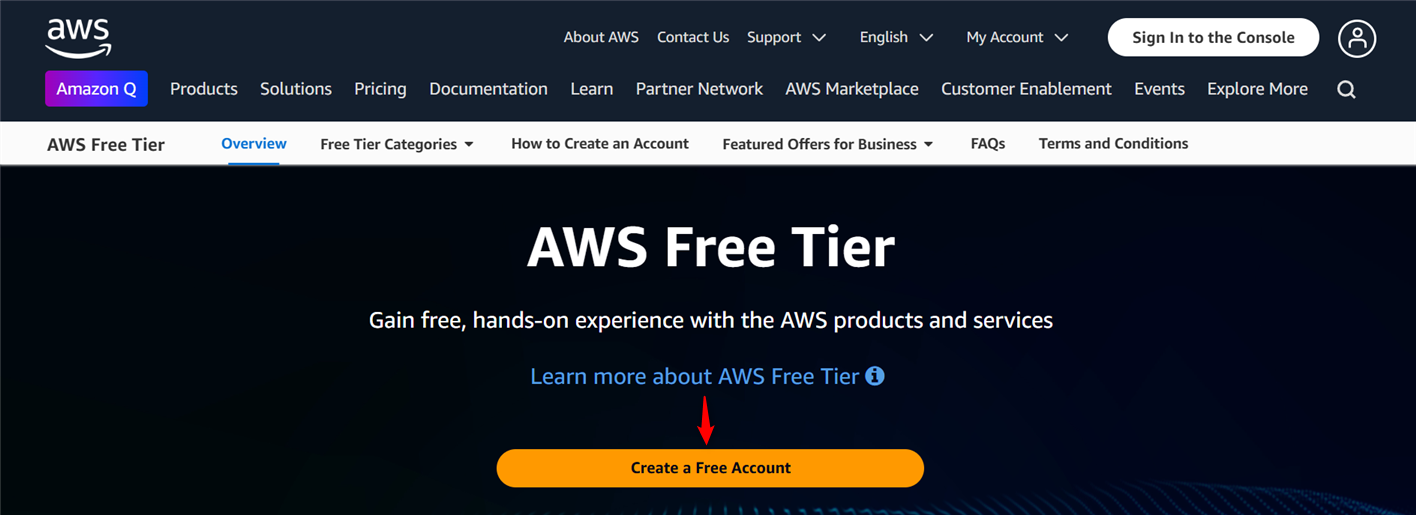
- Visit the Official AWS Registration Page: Search for the official AWS sign-up page in your browser or click here. Next, click on create a free account.
- Provide Your Account Details: Enter your email address and choose an AWS account name that reflects your business or personal identity. This means you can choose to create a business account or a personal account.
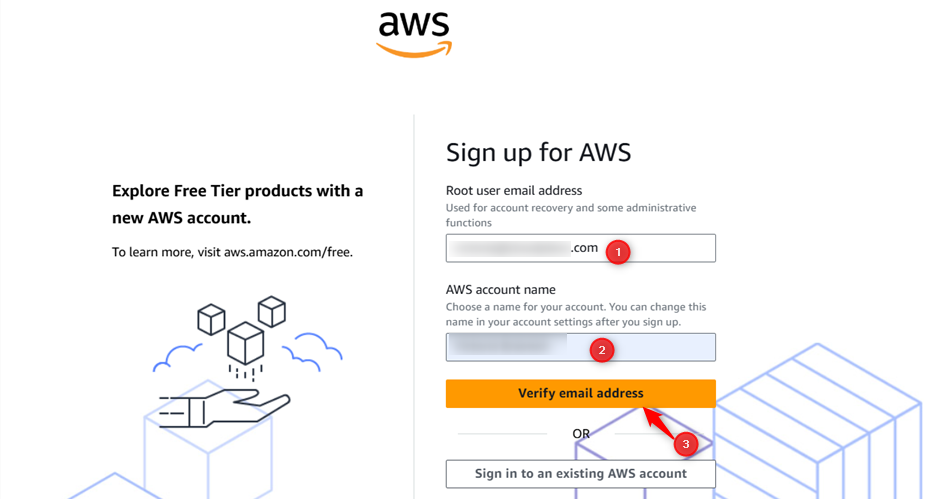
AWS will send a verification code to your email address. This code might take up to five minutes to reflect and if you do not get it after five minutes, check your spam folder or click on resend code. Then, verify.

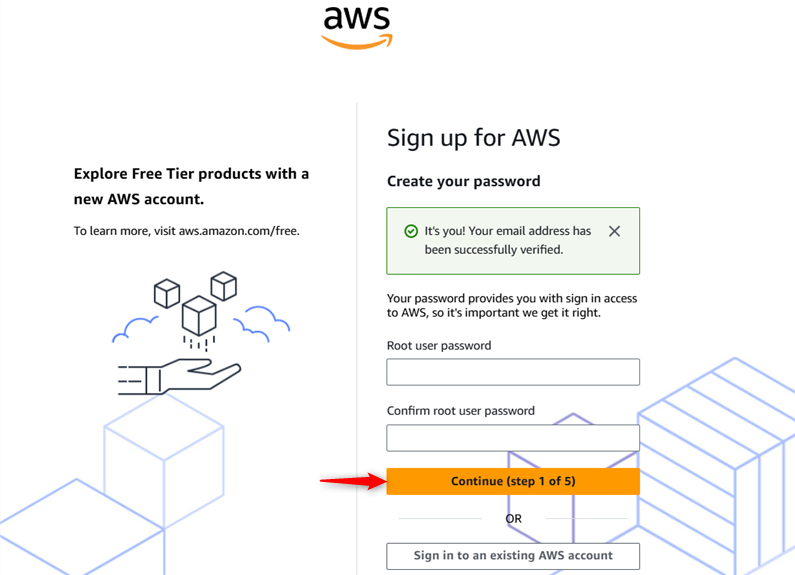
- Choose a Unique Password
The next step is choosing a unique password for your root user account. This password should be a combination of letters, numbers and special characters. Please do not use phone numbers or date of births as it is not best practice. Click to continue.
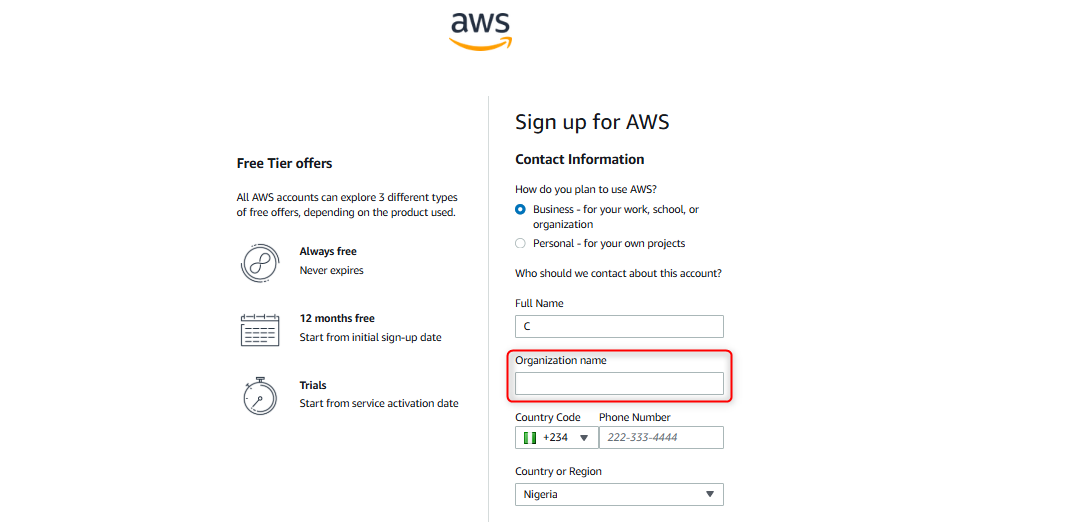
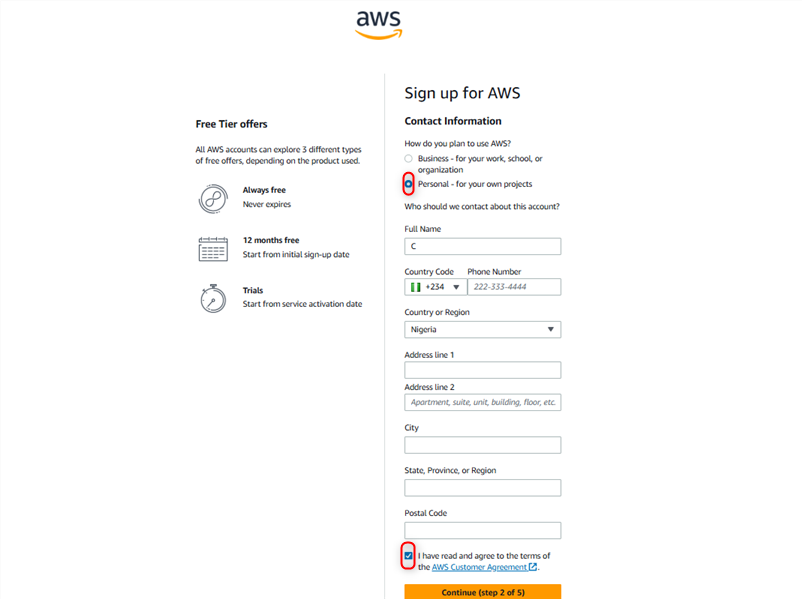
- Enter Contact Information: In this section, provide accurate personal or company details, including your Nigerian address and phone number. If you’re creating a business account, you must provide the name of the organization. After filling your details, accept the terms of the agreement and continue to the next step.
Business Account:
Personal Account:
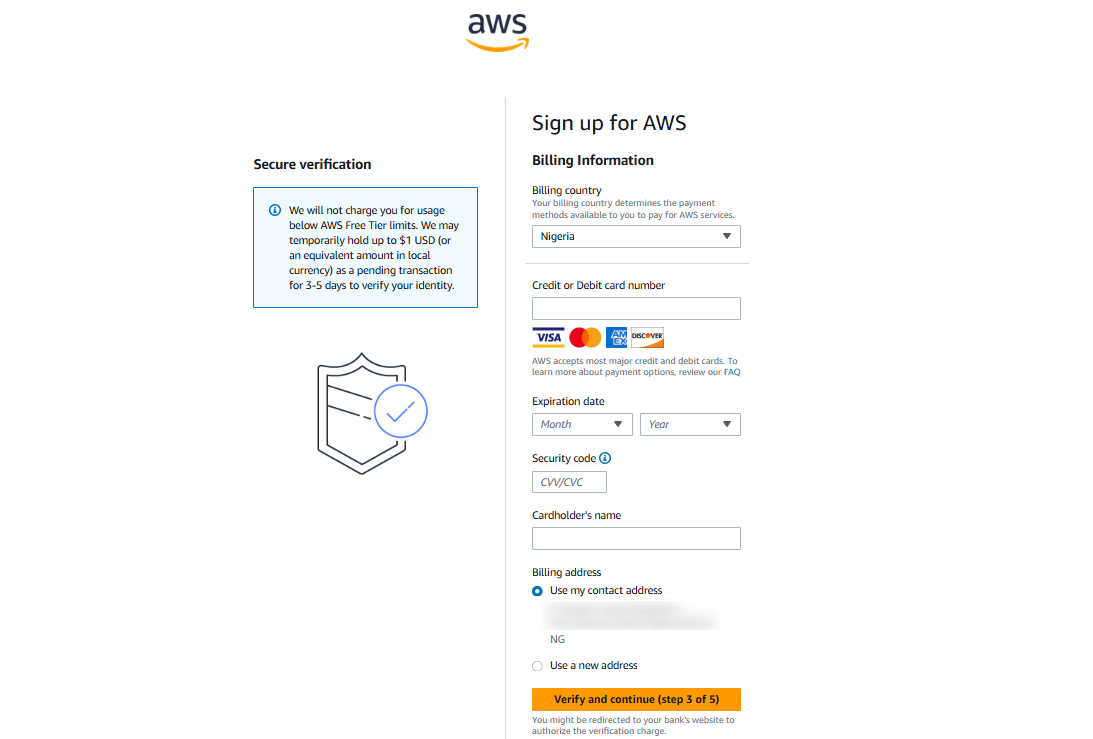
- Add Payment Information and Billing Address: In this page, input your Nigerian credit or debit card details. With AWS now accepting Naira payments, local cards are valid for billing purposes. Wherever your location may be e.g AWS Lagos – You can use your master or VISA card. However, if you use a VISA card, you will be asked to verify the payment information. To skip this process, use your master card.
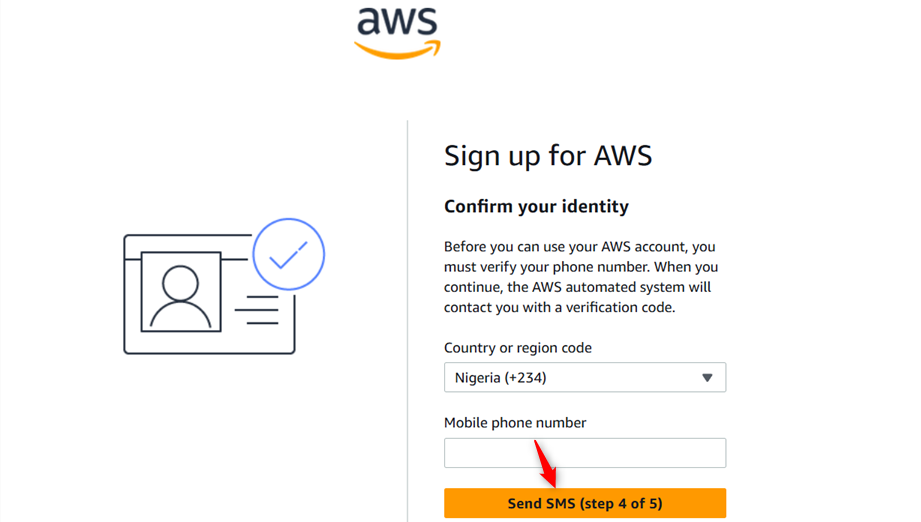
- Identity Verification: AWS may perform a verification process, which could include sending a code to your provided phone number. Input your number and click on “Send SMS”. Next, enter the verification code sent to your number and continue.

- Select a Support Plan: Choose a support plan that aligns with your needs. The "Basic" plan is free and suitable for most new users.
- Complete the Setup: Review all provided information for accuracy. Confirm and submit your account registration.
Post-Registration and Account Testing
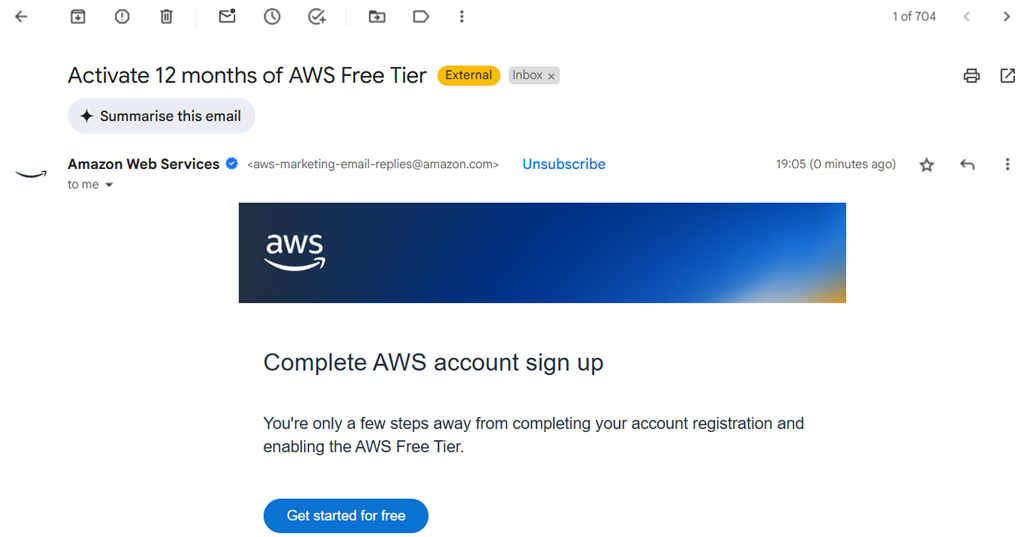
AWS will send a confirmation email upon successful account creation. Follow the instructions provided to activate your account.
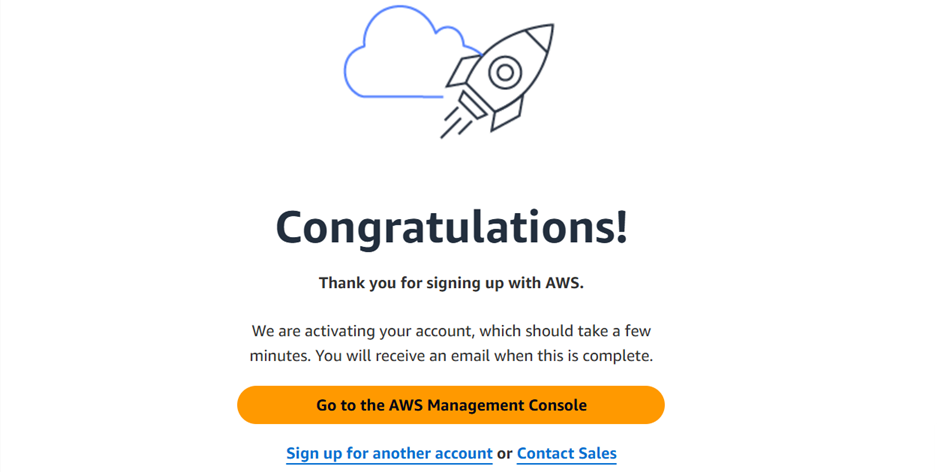
Once activated, log in to the AWS Management Console with your credentials to begin utilizing various cloud services. Previously, Nigerian users often resorted to dollar-denominated cards due to currency limitations. However, as of January 2025, AWS accepts payments in Naira, allowing the use of local Nigerian credit and debit cards. This change helps avoid foreign exchange costs and simplifies the payment process for Nigerian customers.
How to pay your AWS Bills in Naira
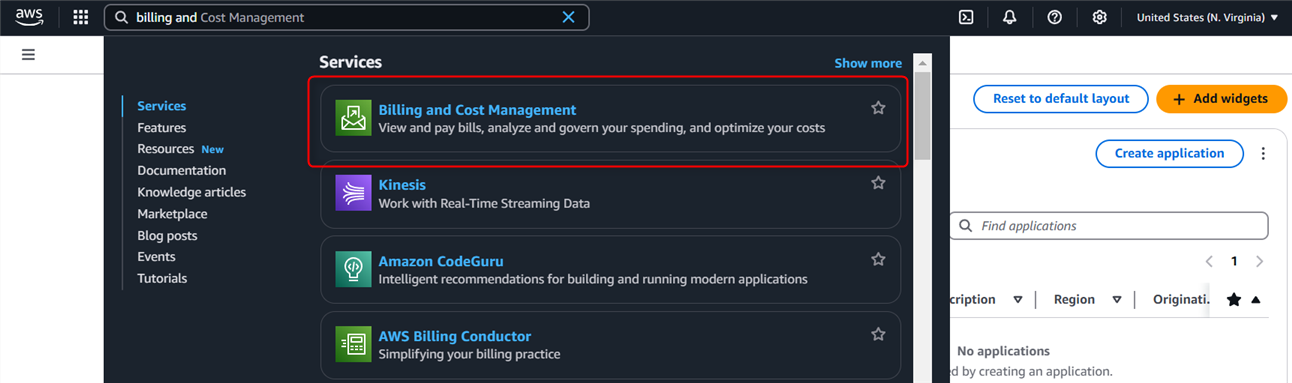
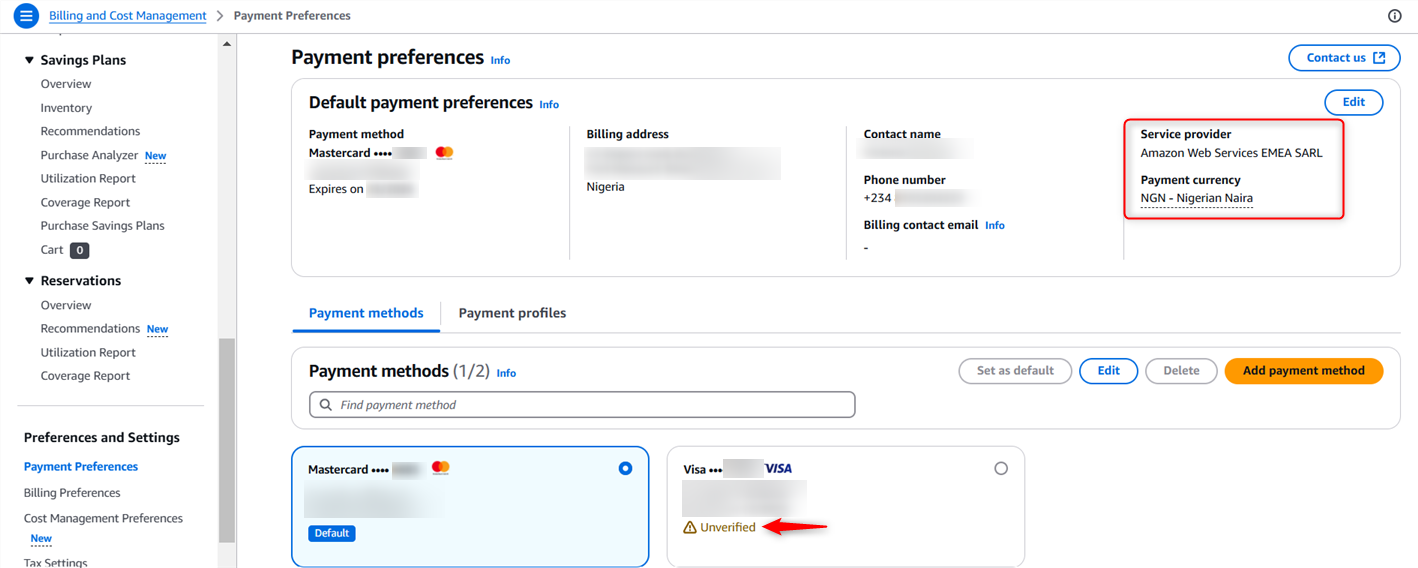
To set up your payment currency to be in Nigerian Naira, go to the billing and cost management page. Type “billing and” in your search bar and click on “Billing and Cost Management”; this is for your AWS local zone payment.
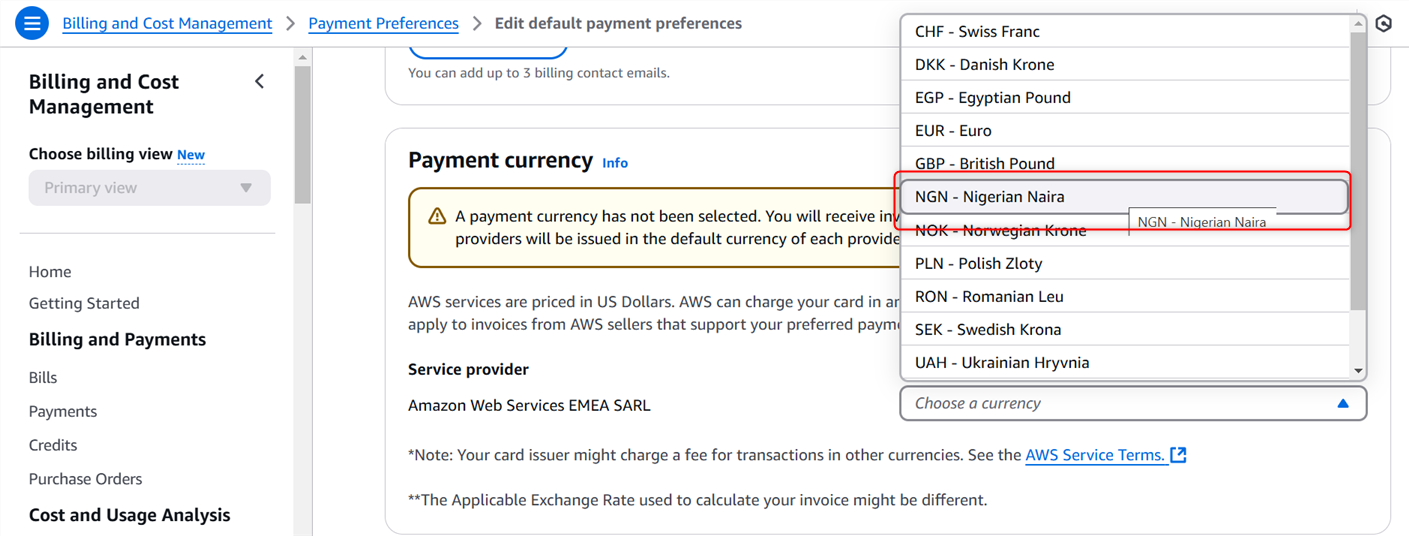
Under payment preferences, click on “Default payment currency”
Choose the Nigerian naira
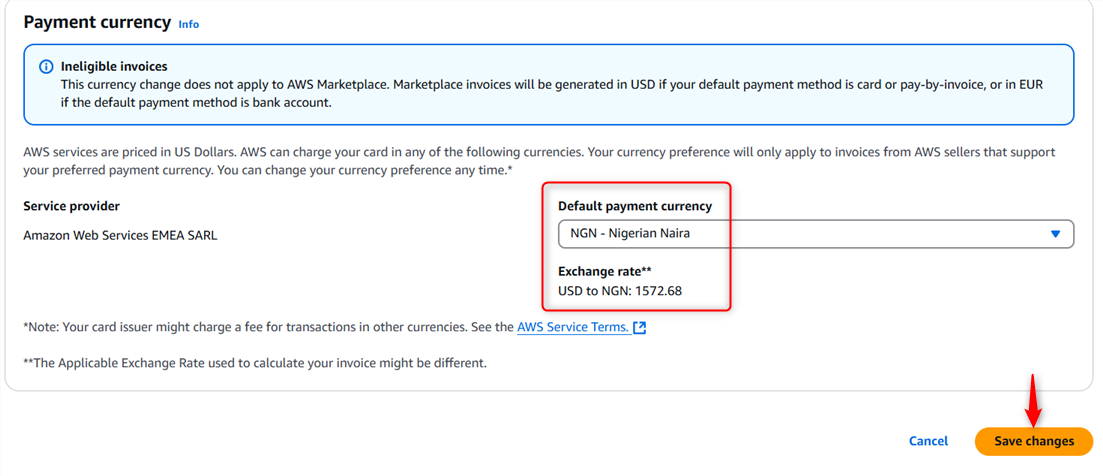
The next page shows you the current exchange rate which is bound to change according to the current market. Save changes.
 Still in the billing and cost management page, you can see your card details such as your name, phone number, credit card details, your mode of payment and in the image below, you can see the master card as default while the VISA card is unverified.
Finally, to confirm your account has been successfully created and ready for use, type “S3” in your search bar. If you see the image below, congratulations! Your account is ready.

Choose a unique bucket name and create your first bucket.
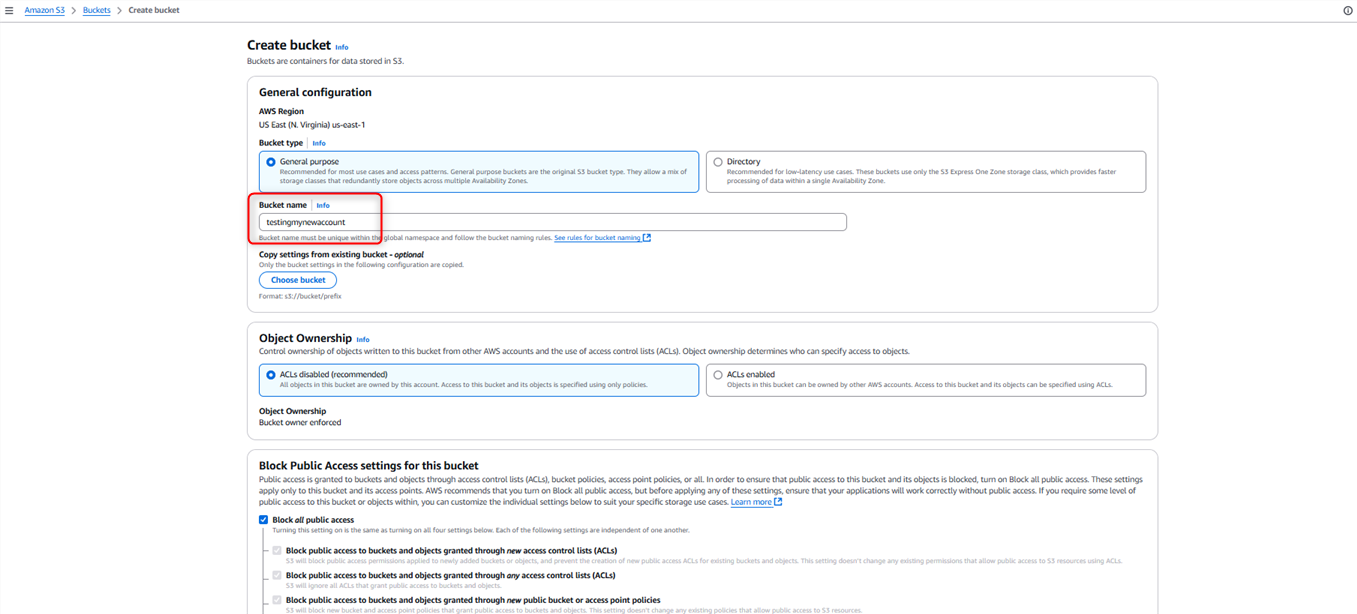
Leave the rest things as default and create the bucket.

Here you go!

Taking it a step further, try launching an instance. In your search bar, type EC2 and launch your first instance. Give the instance a name, fill in the necessary details; you can adjust to suit your preference or leave as default.
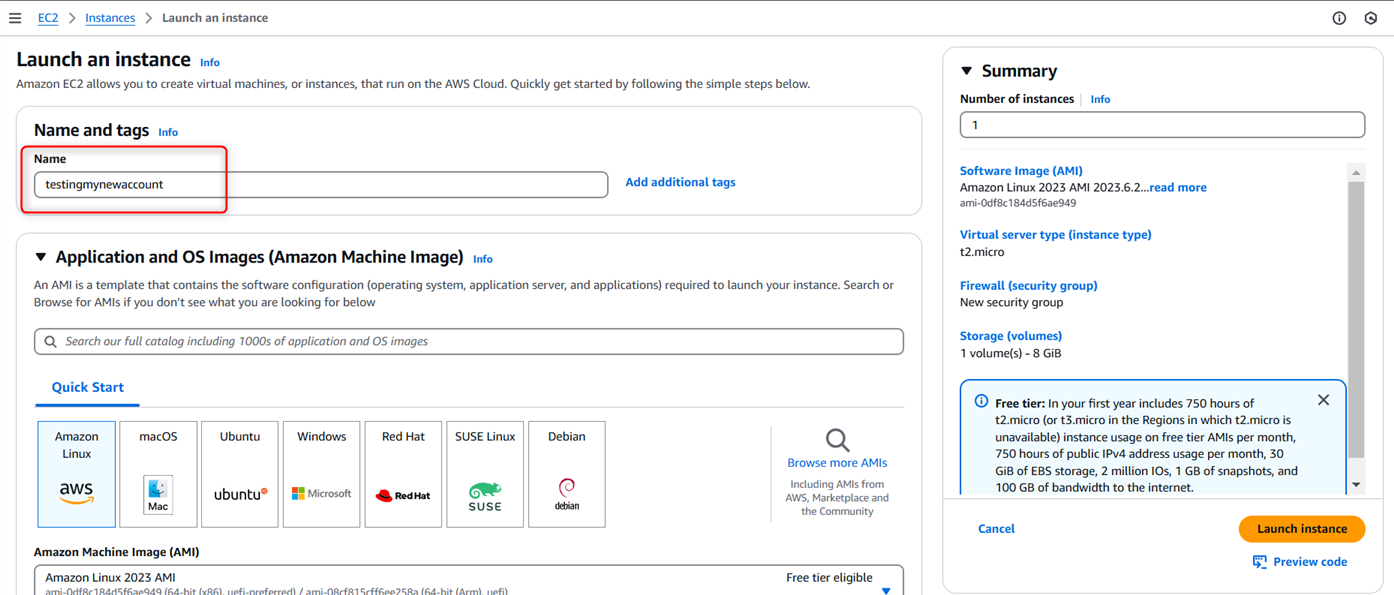
Instance successfully created!

However, if you are unable to create resources in your new account and you get redirected to the page below, kindly check your payment method, complete your sign-up process and try again. Note: Terminate all resources when done in order to avoid unnecessary billing.

Conclusion:
Nigerian users can seamlessly create and manage AWS accounts using local payment methods. This not only reduces costs associated with foreign exchange but also streamlines the overall experience for Nigerian customers.
If you still face one or two challenges setting up your business account after going through this article, kindly reach out to us at contact@cloudplexo.com or visit our website.